Contents
2. Side-Mounted Tennis Lighting
3. Ceiling-Mounted Tennis Lighting
4. Side-Mounted vs. Ceiling-Mounted
1.Start With the Ball Path
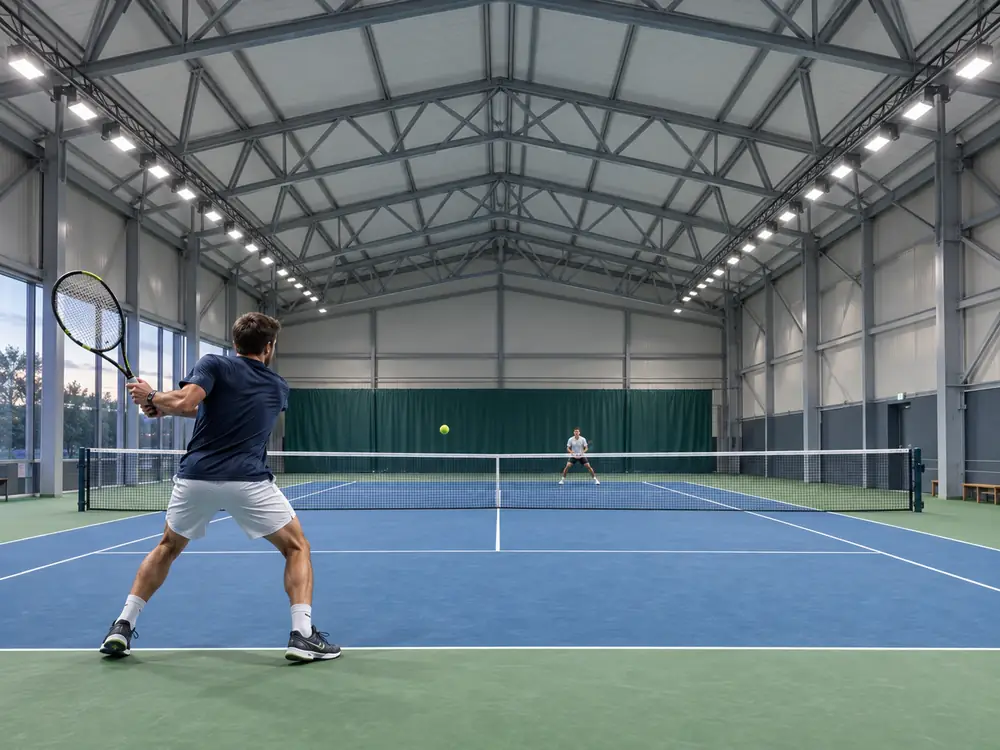
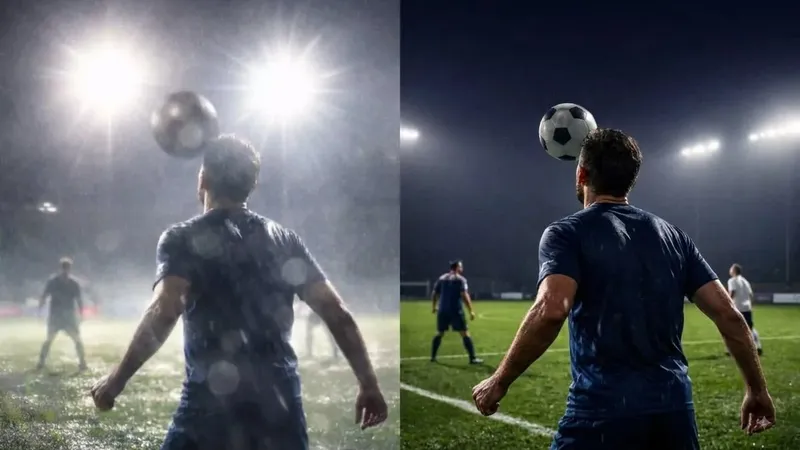
A tennis lighting layout should begin with the moving ball, not the fixture catalogue. Players look high above the net for serves, lobs, and overhead shots. A luminaire in this viewing zone can cause disability glare even when the court reaches its target lux level. The layout must keep useful light on the court while keeping high-luminance sources out of common sightlines.
Side-mounted and ceiling-mounted systems can both support good tennis court lighting. The right option depends on court spacing, roof height, structure, building services, and the competition level. The choice also affects access, aiming, maintenance, and camera views.
2.Side-Mounted Tennis Lighting
A side-mounted arrangement normally uses poles or wall brackets along the long sides of the court. It is common outdoors because it leaves the central airspace clear. In a covered venue, side trusses can serve the same purpose when the roof does not offer enough clear mounting height. More positions also give the designer more control over beam overlap and lighting uniformity.
The cost is coordination. Side positions must stay outside player run-off zones and clear of spectators, fencing, doors, and cameras. Outdoor poles require a wind and foundation check. The CPS glare rating guide is useful here because the design team must assess glare from real player viewpoints, not only the centre of the court.
3.Ceiling-Mounted Tennis Lighting
Ceiling-mounted lighting uses the roof structure above the court. It can remove poles from the court perimeter and reduce outdoor spill-light concerns. This solution works best when the roof height gives enough distance between the source and the player’s upward view. Linear or symmetric rows can produce good coverage when their beam widths match the court and mounting spacing.
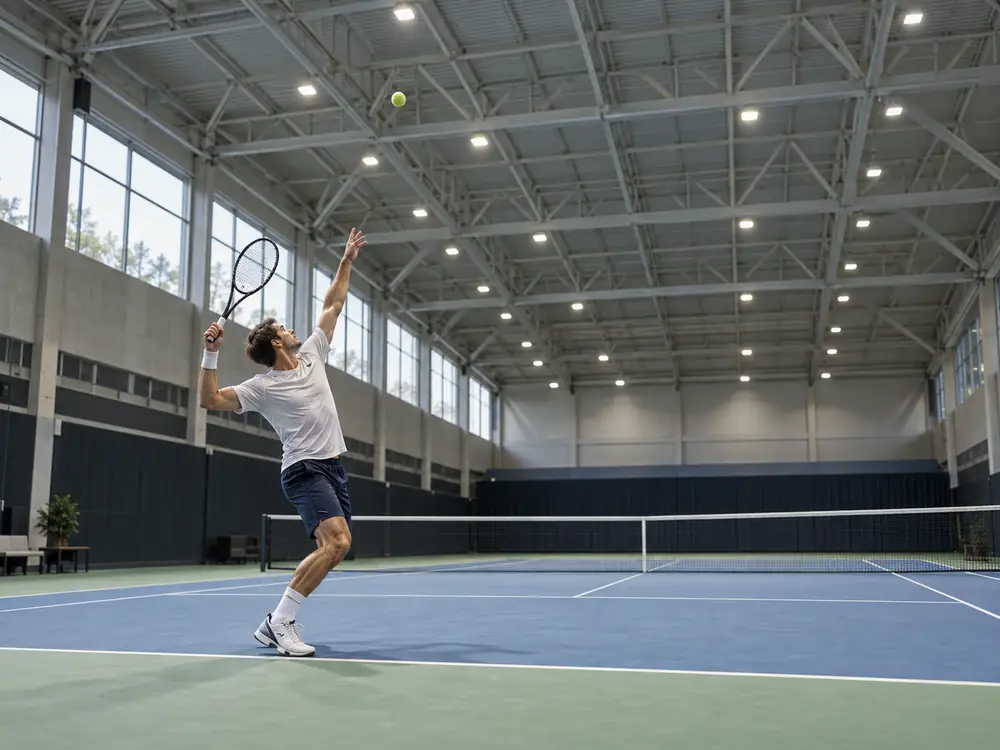
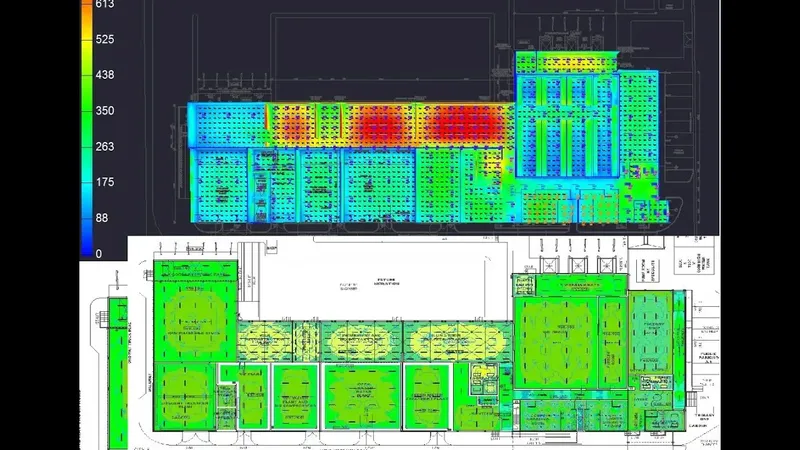
A poor ceiling layout can create a row of bright points directly over the service line. It can also cause hard shadows if fixtures sit too far apart. Designers should check vertical illuminance on each side of the net, ceiling reflectance, flicker performance, heat at the driver, and safe access for service. The DIALux and AGi32 guide explains the value of testing several aiming and spacing options before construction.
4.Side-Mounted vs. Ceiling-Mounted
Neither layout is automatically lower glare. A high side-mounted system with asymmetric optics may give a cleaner upper field of view than a low ceiling grid. A tall indoor hall may make ceiling mounting the simpler option. The table is a useful first screen before a full photometric study.
5.Validate the Layout Before Installation
ITF tournament guidance uses at least 500 lx for artificial lighting where high-level international play requires it. It also recommends a maximum high-to-low reading ratio of 1.5:1. These values are not a complete design brief. A professional tennis lighting layout should also test vertical light, glare, color consistency, flicker, and spill light.
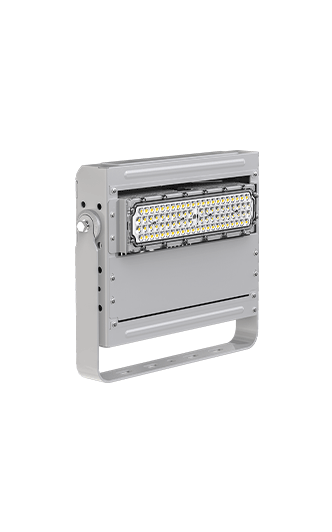
The practical sequence is simple: build the court, roof or pole model; import verified photometric data; compare layouts; then measure and aim after installation. The Polaris LED Flood Light TS-BJX and the Dubhe Projection Light 1000W can be compared by power and beam option, but only the verified layout can protect a player’s view of the ball.